
BMW 7 Series: Clutch
Clutch With Driving Disc
Precautionary Measures On Vehicles With Active Pedestrian Protection System
WARNING: Danger to life!
Triggering the active pedestrian protection system while the engine compartment lid is open may cause serious injury by the retaining hooks.
Use protection systems when carrying out all work with bonnet open (front protective cover and head protection system retaining hook).
Cover front panel in area of engine compartment lid catches with protective cover (1).
Order number, protective cover 81 47 2 159 868.
Support engine compartment lid a suitable tool.
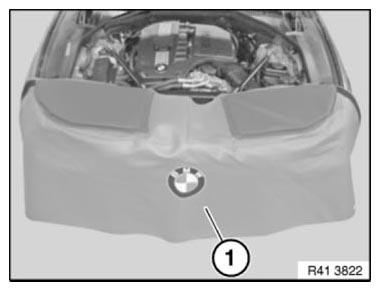
Fig. 1: Identifying Front Panel Cover
Use Velcro strips (2) to fasten head protection (1) to catch hook.
Order number for head protection catch hook (pair) 81 47 2 159 869.
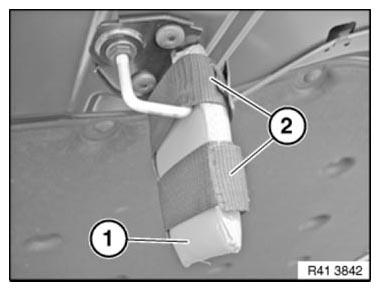
Fig. 2: Identifying Fasten Head Protection To Catch Hook With Velcro Strips
Replacing Roller Bearing For Dual-Mass Flywheel (N63)
Notes
NOTE: FLYWHEEL removed!
Using hydraulic press (1) and special tool 21 2 051, press roller bearing out of dual-mass flywheel downwards on engine side.
IMPORTANT: Risk of damage: Roller bearing must not be driven out.
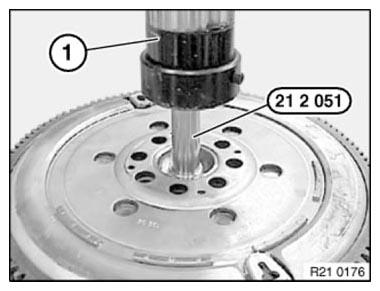
Fig. 3: Pressing Roller Bearing Into Dual-Mass Flywheel Using Special Tool 21
2 051 And Hydraulic
Press
Push roller bearing (2) onto special tool 21 2 052.
Using hydraulic press (1), press roller bearing into dual-mass flywheel as far as it will go on clutch side.
IMPORTANT: Risk of damage:
Observe press-in instruction:
- Roller bearing must not be driven in.
- Roller bearing mounting force/travel monitored:
Min. 2000 N 1 mm before end of pressing in.
Max. 15, 000 N during entire press-in procedure.
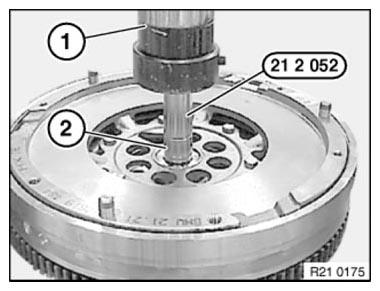
Fig. 4: Pressing Roller Bearing Into Dual-Mass Flywheel Using Special
Tool 21 2 052 And Hydraulic Press
SPECIFICATIONS INDEX
750Li
READ NEXT:
 Cellular Telephone
REMOVING AND INSTALLING (REPLACING) TELEMATIC COMMUNICATION BOX
IMPORTANT: Read and comply with notes on protection against electrical
damage (ESD
PROTECTION).
Comply with notes and instructions on H
Transceiver, Handset+Support, Card Reader
REMOVING AND INSTALLING/REPLACING TELEMATIC CONTROL UNIT (TCU)
(SA633/SA639)
IMPORTANT: Read and comply with notes on protection against electrical
damage (ESD
PROTECTION).
NOTE: Comply with notes an
SEE MORE:
Principles Of Operation
The BMW Night Vision camera is a thermal imaging camera, which converts
thermal radiation into electronic
signals and then into images visible to the human eye.
The thermal image is converted first by the sensor into electrical signals and
then with the aid of imageprocessing
software into a visi
System Components
Interior Lighting, Front
The components for the interior lighting in the front roof area are
integrated in the roof functions center and in
the sun visors. The footwell lighting is located on the underside of the
dashboard.
Interior Lighting in the Roof Function Center
The interior light unit on t
